How to Put on a Diaper Correctly in 10 Simple Steps
Diaper changing is often regarded as a daunting task for parents, relatives, or any other caretaker who helps with a baby on a regular basis. We’re here to change the narrative!
While some diaper changes may be less pleasant than others, there are a few tips and tricks you can use to quickly become a diaper-changing expert.
In this post, we’ll be sharing the 10 simple steps to a diaper change, how to put on a diaper correctly, supplies you’ll need, and some tried and true tricks that parents and caretakers swear by.
After reading this post and having a few practice rounds, you’ll be changing diapers efficiently and confidently every time.
Before we get into the steps of changing a diaper, let’s make sure you have all the supplies you need.
Supplies You Need for a Diaper Change
- Diapers (make sure they’re the right size)
- Wipes (and lots of them!)
- A change of clothes (you never know when a blowout may happen!) (read here for more tips on preventing blowouts!)
- Disposable bag or trash bin for the dirty diaper
- Changing table or mat for a safe, secure diaper change
- Diaper cream and ointment (as needed)
Some of those items, like diaper cream and a change of clothes, won’t be necessary every time. They’re great to have within reach in case the baby has a blowout or has an accident on their clothing.
You should never leave a baby alone on a changing table, even for a quick second to grab something, so having these items close by will save you some time and energy.
Simple Steps to Changing a Diaper
The following steps will teach you exactly how to change a diaper using disposable diapers.
1. Wash your hands

Babies are more vulnerable to germs and dirt, so thorough hand washing before a diaper change is essential.
Even if you haven’t been using your hands for anything particularly messy or dirty, it’s better to be safe than sorry.
2. Check your supplies
As we mentioned earlier, it’s important to ensure you have everything you need prior to laying the baby down on the changing table.
Having all your supplies within arm’s reach means you won’t have to pick up the baby from the changing table to find something for the diaper change.
3. Get the baby settled

Once you have all the supplies you need, gently lay the baby down on their back on the changing table.
Un-snap their onesie or remove their bottoms to access the diaper.
4. Remove the diaper
Unfasten the diaper tabs on the sides and bring the baby’s bottom off the table by gently holding their ankles and lifting them.
Slide the diaper out from under the baby and move it out of the way. Try to keep it out of range in case the baby begins kicking or squirming, particularly if there is stool in the diaper.
If there is stool on the baby’s bottom, you can use the top half of the diaper to wipe some of it away towards the bottom of the diaper.
5. Clean the baby with wipes

Thoroughly wipe the baby’s bottom and make sure everything looks clean. In the case of a diaper with stool, check all the crevices to make sure you’ve wiped it all away.
If you are changing a baby girl, make sure to always wipe front to back to prevent any spread of bacteria.
Related post: How many wipes does a baby use in a day?
6. Throw away the dirty diaper
Combine all the wipes you used to clean the baby, tuck them into the center part of the diaper, and fold the diaper in on itself. You can use the tabs to wrap around the diaper and ensure it stays closed in the garbage.
If the trash can is in the room where you’re changing the baby, throw the diaper away. Otherwise, wait to throw the diaper away once you’re done changing the baby.
Related post: The best diaper pails to prevent odor
7. Put a clean diaper on the baby
Gently lift the baby’s ankles again to slide the diaper underneath them. Make sure the tabs on the diaper are on the back.
If the baby needs any ointment applied, this is the best time to do it to avoid any cream getting on the changing table.
8. Put on the clean diaper
Pull the front of the diaper up between the baby’s legs and lay it flat on their stomach.
Unfasten the tabs on the diaper, pull them around to the front, and secure them above the baby’s hips. Make sure the diaper feels snug, but not too tight on the baby’s tummy.
9. Get the baby dressed
Re-fasten the onesie or put their bottoms back on. If the baby needs an outfit change from a messy diaper, you can do this step now.
Related post: How to change a baby girl’s diaper
10. Wash your hands and clean the changing pad
After the diaper change, wash your hands again.
If the diaper change was particularly messy, use a baby-safe disinfectant to clean the changing table and surrounding areas so it’s clean for the next diaper change.
Congratulations, now you know how to put on a diaper correctly!
Related post: What are the best diapers for newborn babies?
How to tell if a baby needs a diaper change
There are several ways to tell if a baby needs a diaper change. While some are obvious, there are also cues from the baby and things you can watch for to know when it’s time for a fresh diaper.
The general rule of thumb for diaper changing is every 2-3 hours. This may be too frequent for your baby, or they may need them more often, but this is a good starting point.
Other indicators that a baby needs a diaper change
- They’re fussy or crying, and not hungry or tired
- They feel heavier (wet diapers are noticeably heavier than dry ones)
- An obvious one… the smell

Lastly, diaper companies have gotten very innovative and often include a color indicator on the front of the diaper that changes color if the diaper is soiled.
If the other signs aren’t there, but the color strip on the diaper has changed, it’s best to change the baby’s diaper to prevent any irritation.
Do diaper ruffles go in or out?
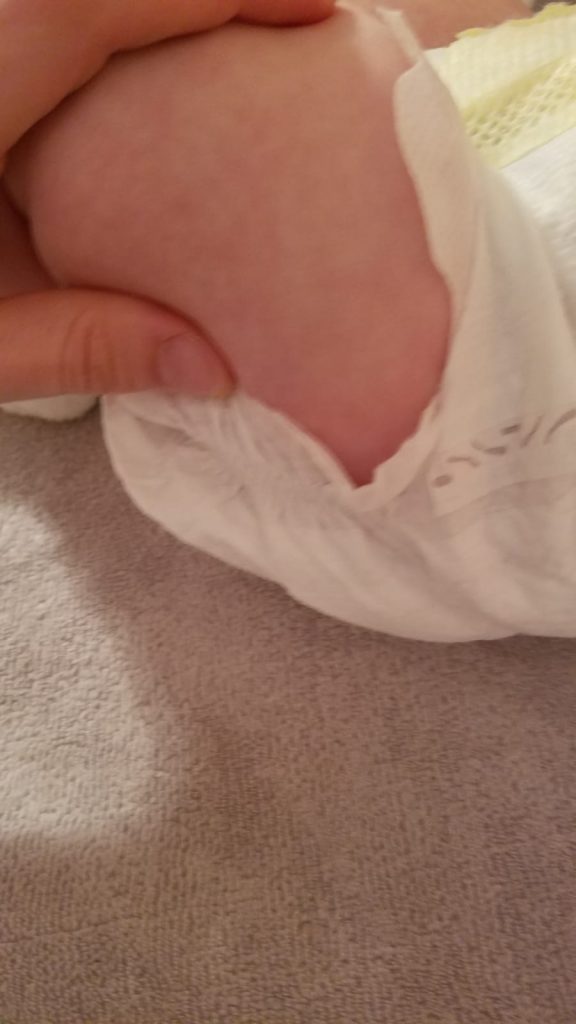
Diaper ruffles should be fluffed outwards to prevent leaks and give the diaper more time to absorb. After putting on the diaper and fastening the tabs, run your finger along the ruffles to make sure they’re all fluffed out.
In the event of a large amount of urine or a blowout, the ruffles help to prevent leaks, keep everything inside the diaper, and help to minimize clean-up.
Related post: How to change a diaper without gagging or vomiting
Do the diaper tabs go in the front or the back?
The adhesive tabs on the diaper go in the back, under the baby’s back and fasten in the front, with the tabs above the baby’s hips, at belly button level.
When fastening the tabs, make sure you can place two fingers between the diaper and the baby’s waist. This is an effective way to make sure the diaper isn’t too snug.
Related post: 7 tips to get a proper diaper fit
Should you wipe after every pee diaper?
Not every pee diaper change needs a wipe. If the baby has a light diaper with some urine, a wipe isn’t always necessary. Over-wiping can cause irritation, so keep that in mind during pee diaper changes.
Diapers are excellent absorption tools, and oftentimes urine doesn’t touch the baby’s skin for long because the diaper absorbs it so quickly.
When you do wipe, make sure to wipe front to back to avoid the spread of bacteria, particularly on girls.
Related post: bookmark this one for later- How to change a 2 year old’s diaper
Wrap up- How to Put on a Diaper Correctly
We hope this post has left you feeling confident and capable of changing a baby’s diaper and knowing how to put on a diaper correctly.
Remember: Don’t overthink it, have supplies ready, and just go for it! Babies are usually more interested in staring at you or grabbing their feet during a diaper change, so even if you mess up, they won’t have a clue. You’ve got this!